This is a read-only archive of an earlier blog posting. Reasons for the
change are at http://blog.sensicomm.com.
The permanent version of this post - with comments (if any) - is at
http://sensicomm.blogspot.com/2012/12/acer-5253-disk-upgrade.html
Acer 5253 disk upgrade
I'll start with the usual warnings: I'm not a PC
repair expert; this is what I did, I'm reporting it in case it
turns out to be useful for others. It might work for you or it
might destroy your PC, wreck your marriage, or give you acne.
Proceed at your own risk.
 |
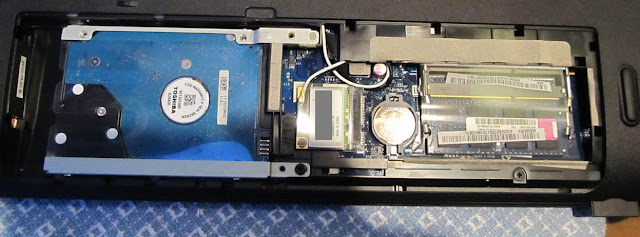
| Acer 5353
drive/memory bay. The holes for the locking tabs are clearly
visible. |
 |
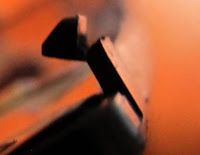
| A locking tab
looks like this if you pry too
hard. |
Found a good price on a new hard drive so I decided to upgrade
my Acer 5253 notebook PC. The back of the PC has a cover with disk
and memory symbols that's held on with 2 screws, so it looks
obvious: remove the screws and replace the drive. Nope: take out
the screws and pry, and the cover doesn't move. A Google search
shows that lots of other folks have had the same problem: there's a
series of small molded tabs that have to be pried loose. I used
some cheap miniature screwdrivers to pry the tabs back. Only one of
the tabs broke, which I think is a decent record.
Next step is to get the old drive out: it's mounted in a metal
frame that's held in by one screw at the lower right and one small
tab at the upper left. I took out the screw and slid the drive to
the right. I found that it took a really hard push to get the drive
to move: it seemed to hang up on the silvery tape under the top
right frame end. After getting it out the first time, the drive
slid in and out quite easily. For reassembly, I just reversed the
steps: put the metal frame on the new drive (4 screws), engage the
tab on the frame with the slot at the upper left edge of the
mounting bay, slide into position, put the mounting screw back in,
and finally put the plastic cover back on.
 |
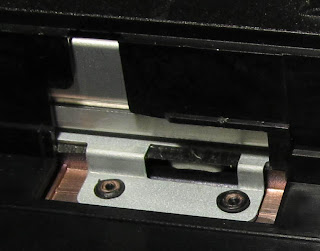
| This tab at the
upper left helps hold the drive in.
|
I found this
YouTube video http://www.youtube.com/watch?v=ox1OkNVGBlg
showing the whole process; it's a different model but the process
looks about the same. Removing the cover and the old drive looks a
lot easier for him than it was for me, though.
 |
| The tab slides
down into this slot and then
right. |
The new
drive is a white label unit from goharddrive.com, who I
found via the pricewatch.com website.
Just a one-time purchase from them, but shipping was prompt and the
drive has been working fine so far.Comments on blogspot.com
To make or view comments, see the original post at
http://sensicomm.blogspot.com/2012/12/acer-5253-disk-upgrade.html


